
Step-by-Step Guide to Preparing Your Walls for a Flawless Interior Paint Job
You’re ready to refresh your home with a new paint job, but where do you begin? Before you dip that brush into a vibrant can of color, let’s talk about how proper wall preparation is the secret to a flawless interior painting outcome. With over 16 years of expertise, we at Paint Gunners know that quality starts with the basics. In this guide, you’ll uncover the steps to ensure your walls are prepped perfectly, leading to a stunning and long-lasting finish. Ready to learn the secrets? Let’s get started! Learn more here
Step-by-Step Guide to Preparing Your Walls for a Flawless Interior Paint Job
You’re ready to refresh your home with a new paint job, but where do you begin? Before you dip that brush into a vibrant can of color, let’s talk about how proper wall preparation is the secret to a flawless interior painting outcome. With over 16 years of expertise, we at Paint Gunners know that quality starts with the basics. In this guide, you’ll uncover the steps to ensure your walls are prepped perfectly, leading to a stunning and long-lasting finish. Ready to learn the secrets? Let’s get started!
Essential Wall Preparation Steps
Proper wall preparation is the foundation for any quality paint job. It involves cleaning, repairing, and smoothing the surfaces you plan to paint. This ensures the paint adheres well and looks great over time. Investing time in these steps can help prevent issues like peeling or cracking down the line, saving you time and money in future home improvement projects.
Cleaning and Dust Removal
Cleaning your walls is the first step in preparing for interior painting. Dust and grime can interfere with paint adhesion, leading to a less than perfect finish. Start by using a mild detergent mixed with water and a sponge to wipe down the walls. Pay attention to areas around doors and windows, as these often collect more dirt.
Once the walls are clean, wipe them with a damp cloth to remove any soap residue. This step is crucial to avoid any streaks showing through the paint. Allow your walls to dry completely before moving on.
Regular cleaning not only aids in a smoother painting process but also contributes to a healthier home environment by reducing allergens. For more detailed cleaning processes, check out this guide.
Repairing Wall Imperfections
Before painting, repair any imperfections on your walls. Cracks, holes, and chips can disrupt the paint’s appearance. Begin by inspecting the walls thoroughly to identify areas needing repair. Use spackle or a joint compound to fill in holes and cracks.
1. Apply the spackle using a putty knife, pressing it firmly into the imperfections.
2. Smooth the surface by wiping away excess with the knife edge.
3. Allow the repairs to dry according to the product instructions, usually a few hours to overnight.
After the compound dries, lightly sand the repaired areas to ensure they are level with the wall. This step is essential to achieving a smooth finish. For advanced tips, visit Reddit’s helpful discussion.
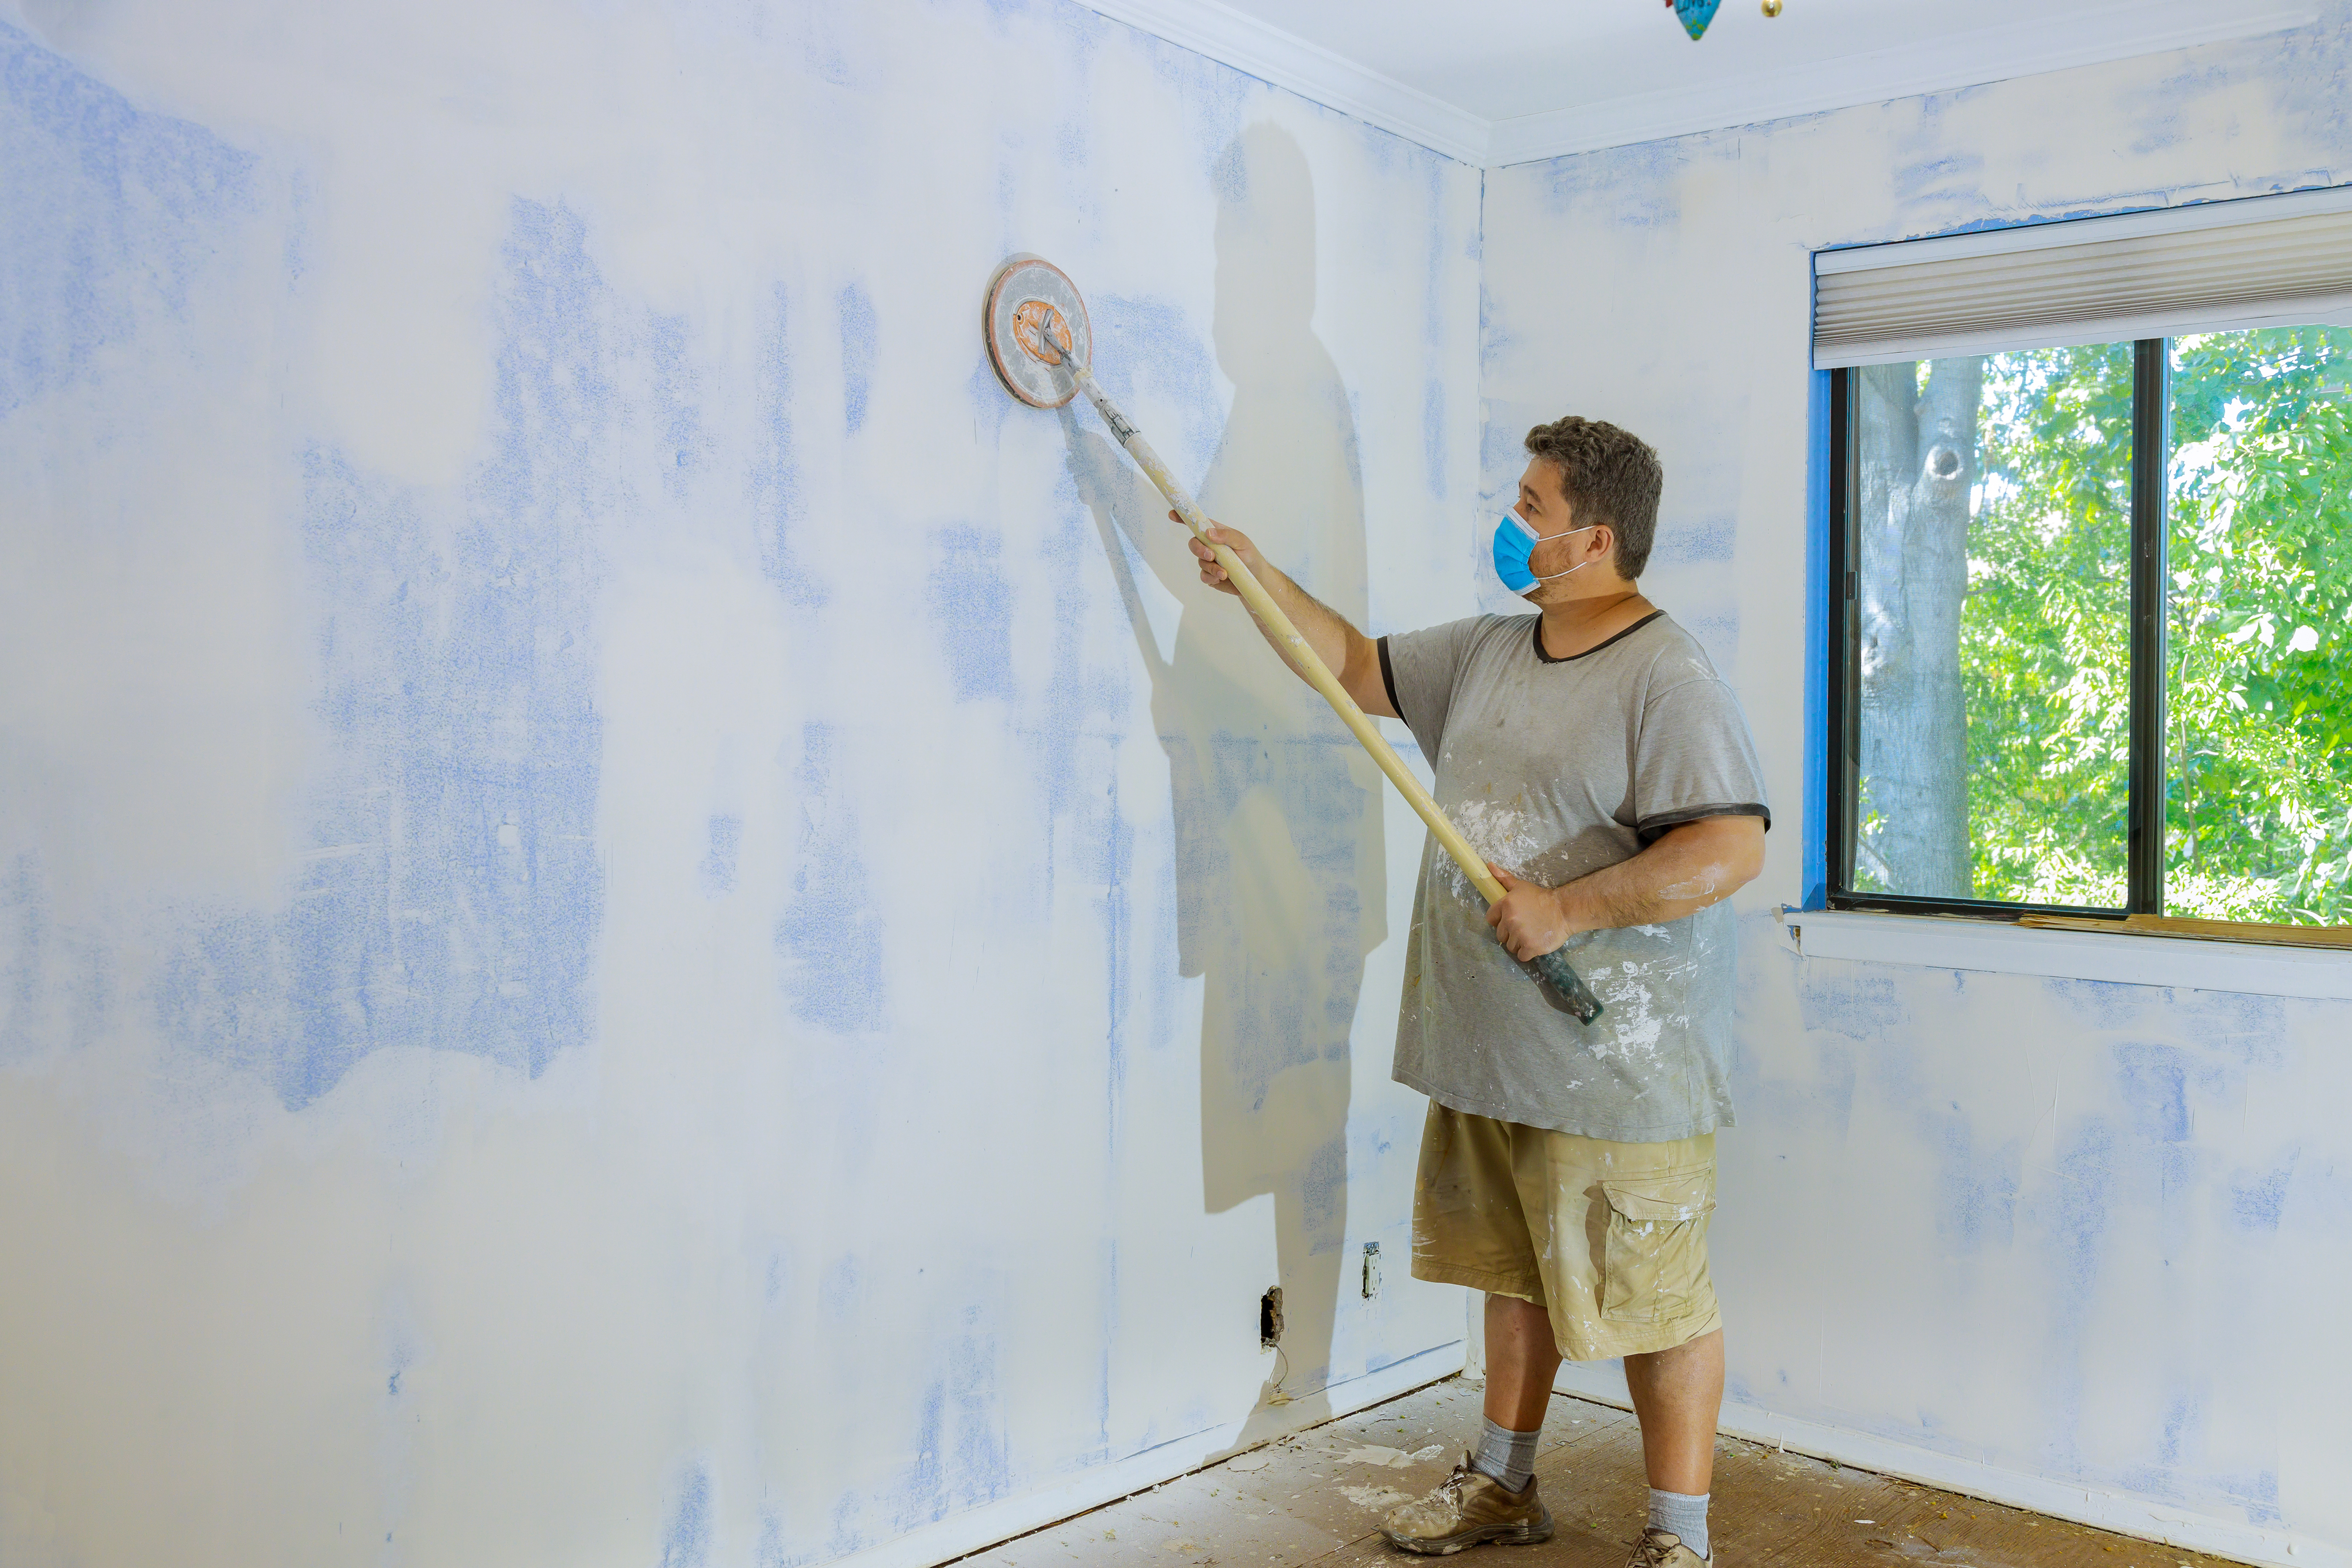
Sanding for a Smooth Surface
Sanding your walls ensures a smooth surface, which is critical for a professional-looking paint job. Use fine-grit sandpaper to gently sand the entire wall, focusing on any repaired areas. This helps eliminate any unevenness and provides a better grip for the primer and paint.
After sanding, wipe the walls with a damp cloth or tack cloth to remove any dust particles. Clean walls ensure a stronger bond between the paint and the surface. This step might seem tedious, but it’s key to achieving a quality paint job.
For more insights on sanding techniques, visit Benjamin Moore’s guide.
Priming for a Quality Paint Job
Priming walls before painting can make a significant difference in the final outcome. It helps cover imperfections and provides a uniform base for the paint to adhere to. A good primer can enhance paint durability and vibrancy, ensuring your new coat of paint lasts longer and looks better.
Choosing the Right Primer
Selecting the right primer is crucial for a successful interior painting project. There are two main types: latex-based and oil-based. Latex primers are suitable for most surfaces and dry quickly, making them ideal for residential use. Oil-based primers offer better stain-blocking qualities and are effective for covering tough stains or odors.
Consider the surface you are painting. For drywall, a latex primer is typically sufficient. For wood or previously painted surfaces, an oil-based primer might be more appropriate. Consult with a local paint store or expert to ensure you choose the best product for your needs.
Applying Primer Effectively
Once you have chosen your primer, it’s time to apply it. Using a roller, start at the top of the wall and work your way down. Apply the primer in a thin, even layer to avoid drips and ensure a smooth surface.
1. Pour the primer into a paint tray.
2. Load your roller with primer, rolling off excess on the tray.
3. Begin at the ceiling and roll down the wall in sections, overlapping each stroke slightly.
Allow the primer to dry completely before applying paint. This step is vital for achieving a polished finish. Refer to This Old House’s guide for more detailed instructions on primer application.
Final Touches Before Painting
Before you crack open that paint can, a few last steps can ensure your paint job is flawless from start to finish. These finishing touches protect your work and set the stage for an easy painting process.
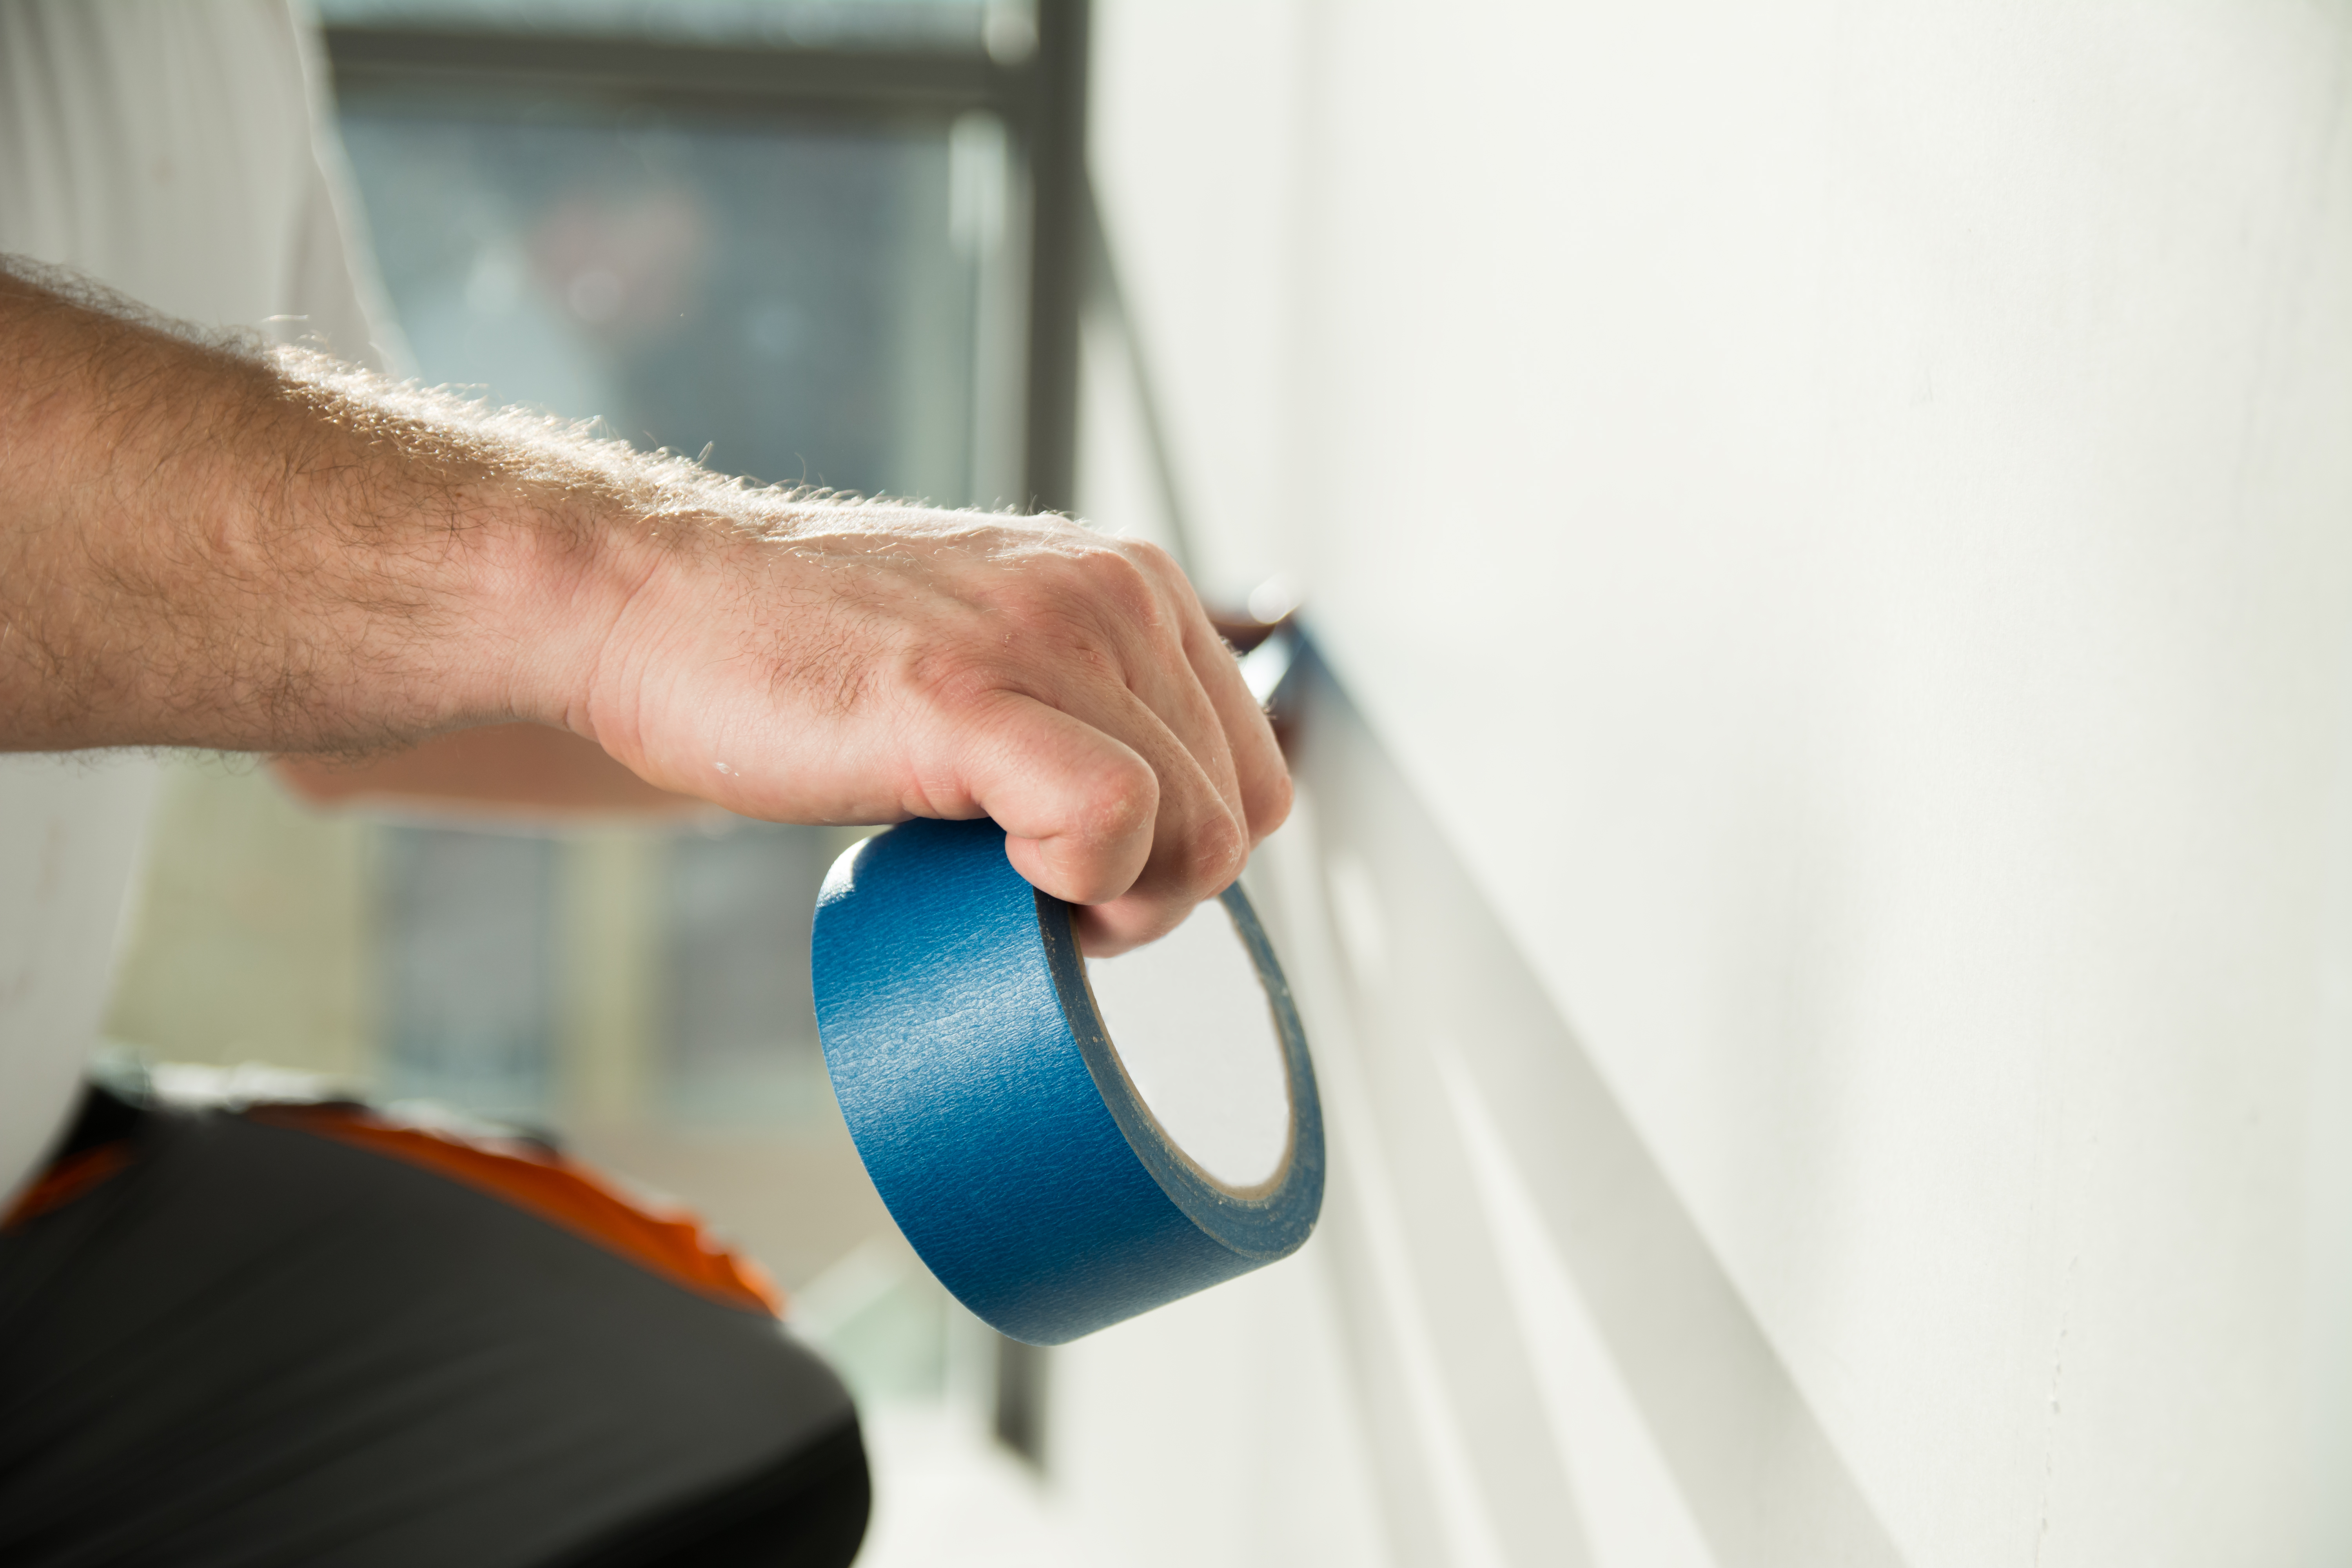
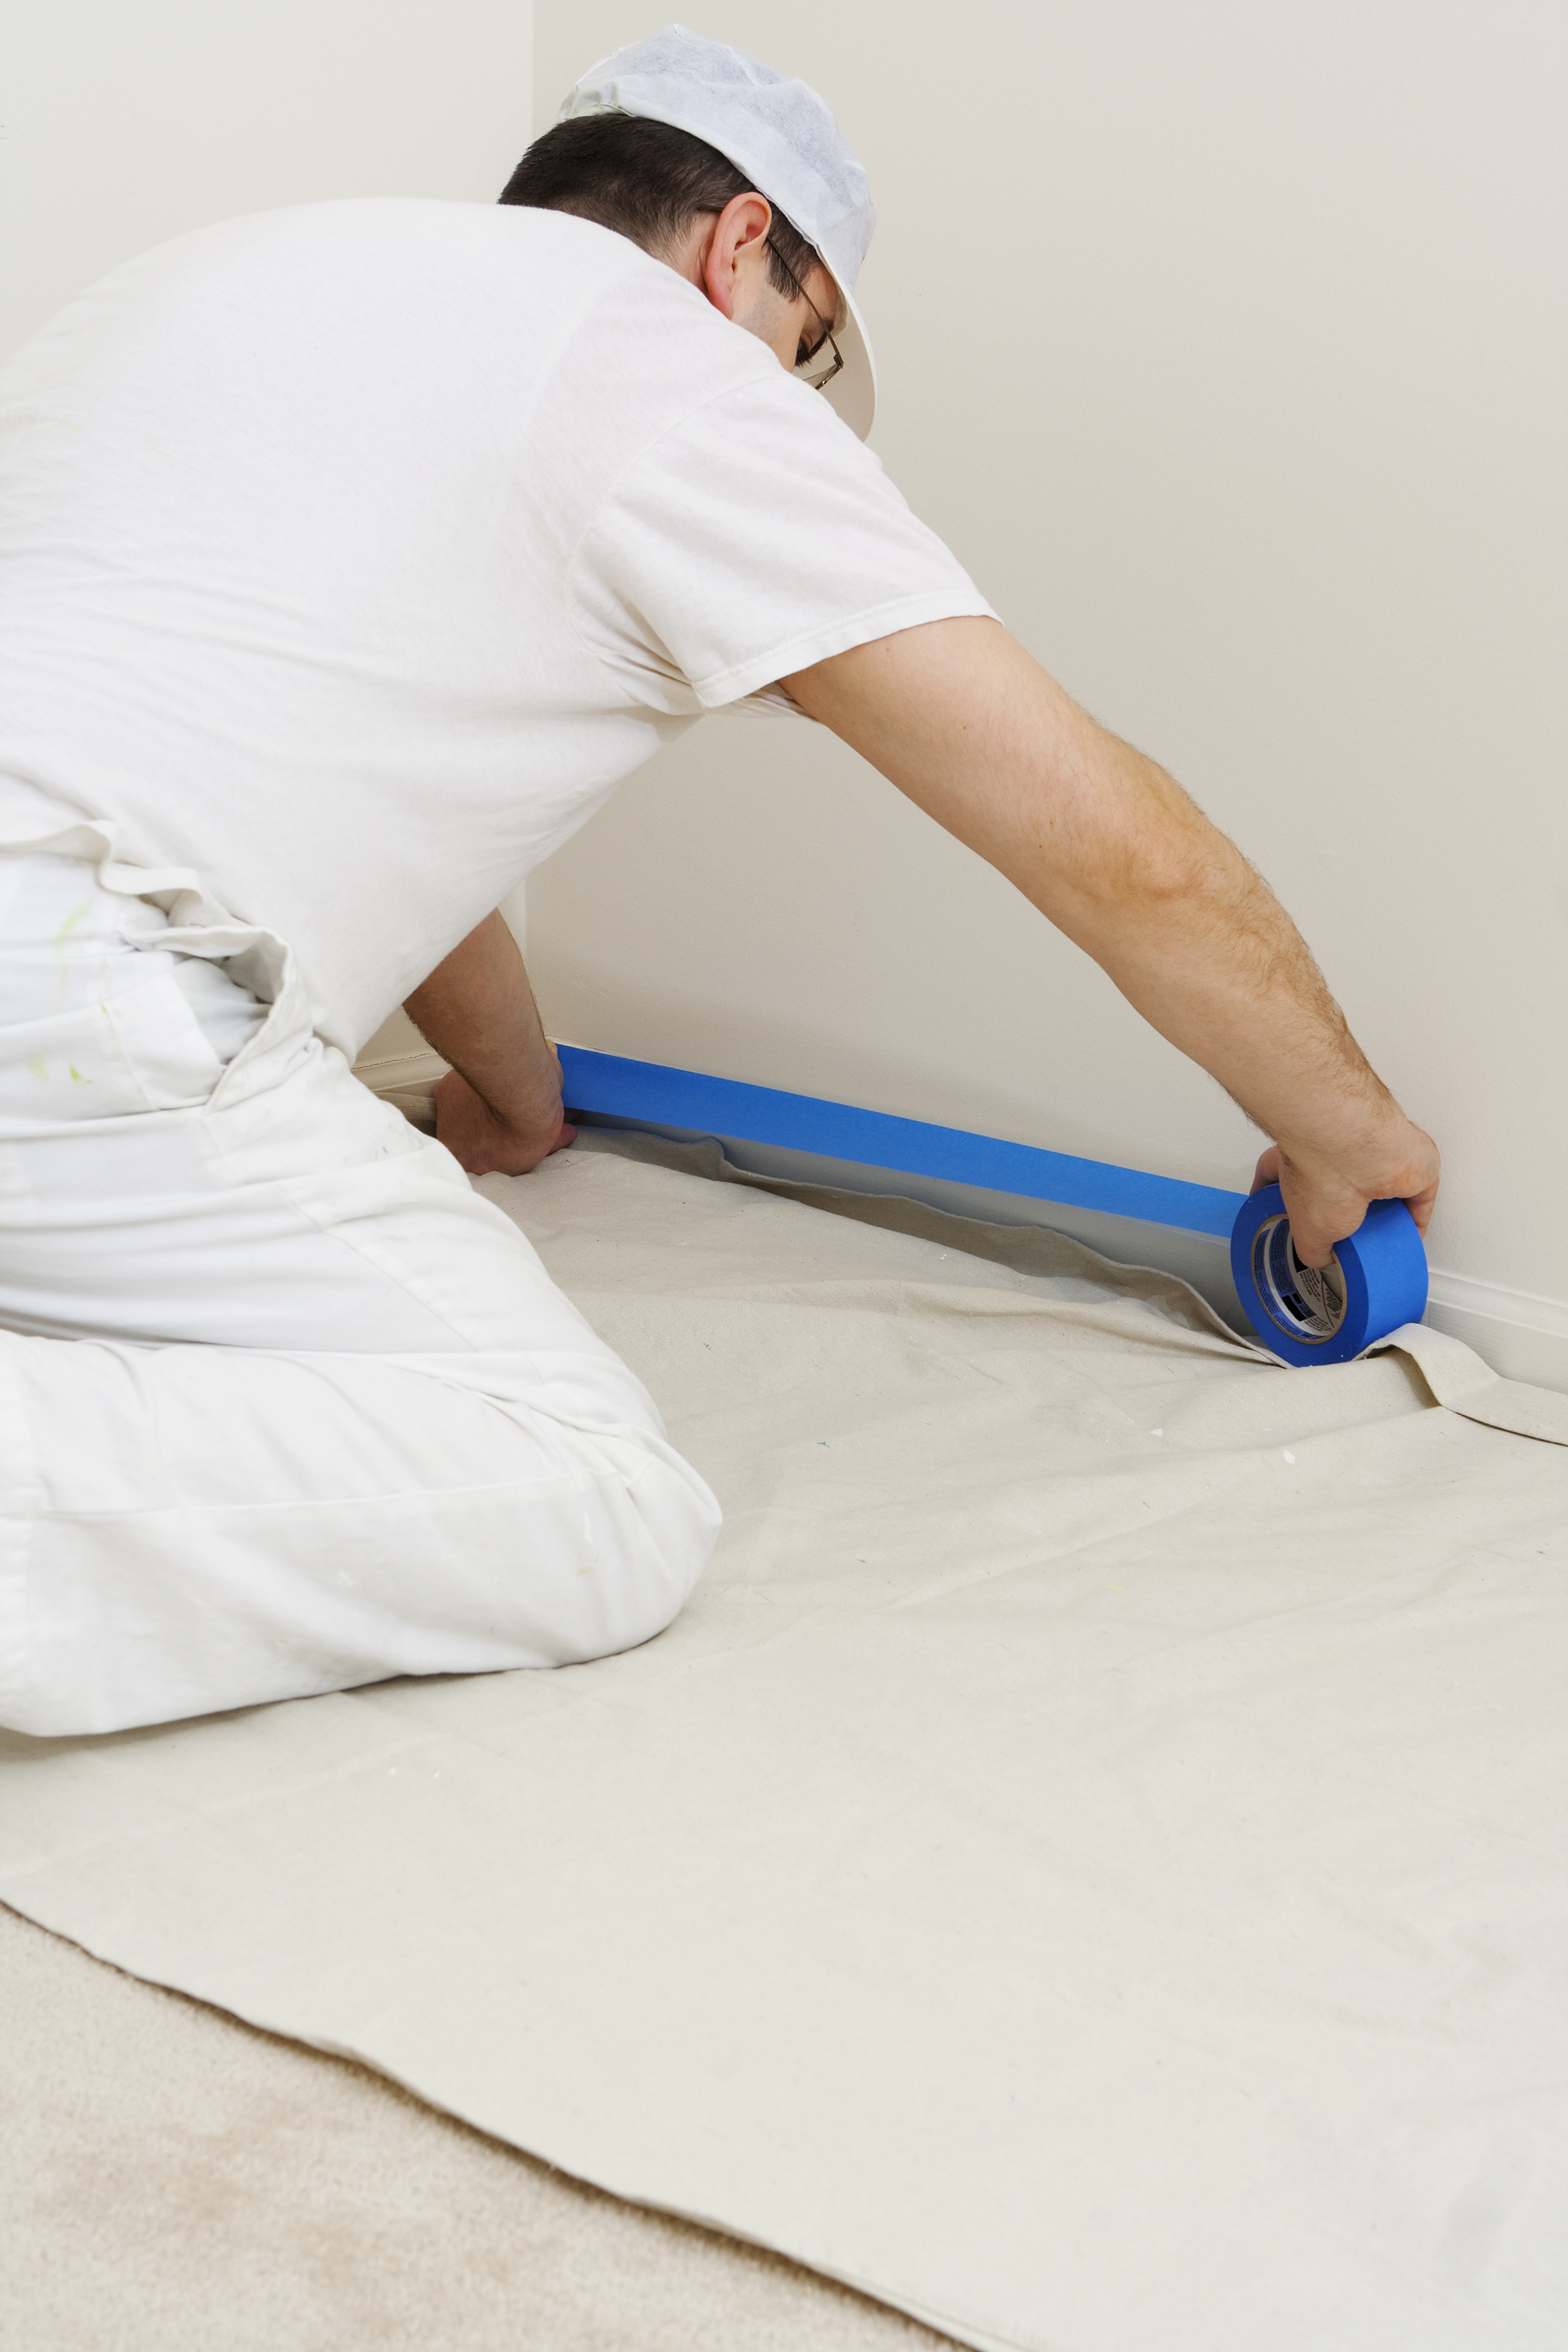
Taping and Protecting Trim
To prevent paint from getting on areas you want to keep clean, such as trim or baseboards, use painter’s tape. Carefully apply the tape along the edges where the wall meets the trim, pressing it down firmly to create a seal.
Consider using a high-quality painter’s tape that can be easily removed without leaving residue. This step is straightforward but essential for a neat finish. Tape can also be used to protect any fixtures or hardware that you don’t want to paint.
Inspecting and Adjusting Preparation
Before starting to paint, take a moment to inspect your preparation work. Ensure that all areas are taped correctly, the primer is dry, and there are no dust particles on the surface.
Adjust any areas where the tape might not be secure or where the primer coverage is uneven. These small checks can make a big difference in the quality of your final paint job.
This step ensures that all the effort you put into preparation results in a beautiful and professional-looking finish. When you’re satisfied with your preparation, you’re ready to start painting with confidence.
Ready to transform your home with a fresh coat of paint? Contact Paint Gunners today for a free consultation! Mention this blog post when you book your painting service and receive a 10% discount on your first project! 🎨🏡